Drawing animals can be a delightful and rewarding endeavor, whether you’re a budding artist or someone looking to refine your artistic skills. Animals, with their diverse shapes, sizes, and textures, provide a vast canvas for exploration and creativity. This guide aims to walk you through the fundamental steps of drawing animals, highlighting key aspects like anatomy, movement, and texturing, suitable for beginners and intermediate artists alike. For added skills in depicting animals with long hair or manes, explore the article on how to draw a braid.
Understanding Animal Anatomy
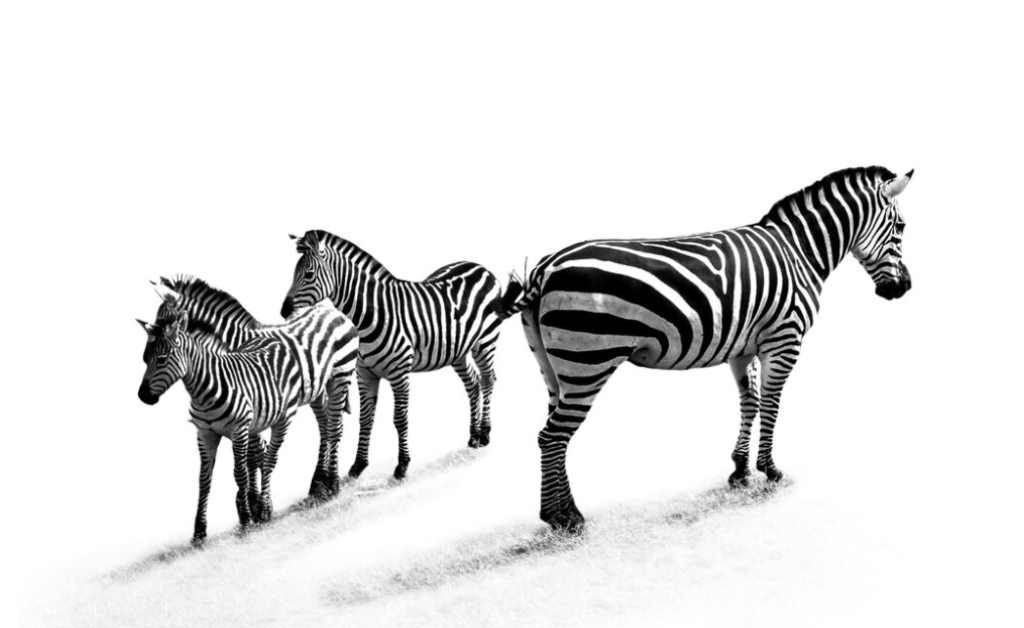
To excel in the art of drawing animals, a fundamental grasp of their anatomy is paramount. This subtopic delves into the basic anatomy of various animals, encompassing domestic creatures, wildlife, birds, and beyond. Understanding animal anatomy involves gaining insights into the intricacies of their skeletal and muscular structures, proportions, and common features unique to each species. Whether capturing the grace of a soaring bird, the strength of a wild predator, or the endearing qualities of a domestic pet, artists must familiarize themselves with the distinct anatomical details that define these creatures. To aid in this endeavor, utilizing visual aids such as reference images or anatomical diagrams proves invaluable. These tools not only enhance comprehension but also serve as essential references, allowing artists to accurately depict the nuances of animal anatomy in their drawings. Aspiring artists can explore the diversity of forms and structures within the animal kingdom, refining their skills and bringing a heightened level of authenticity to their artistic creations.
Tools and Materials
- When it comes to animal drawing, selecting the right tools is essential for capturing the intricate details and textures of fur, feathers, and scales;
- For beginners, starting with a set of high-quality graphite pencils ranging from 2H to 6B is ideal;
- The harder pencils (2H-4H) are perfect for light, fine lines and initial sketches, while softer pencils (2B-6B) are excellent for creating darker, richer tones and textures;
- A good quality eraser, such as a kneaded eraser, is also crucial for gently lifting graphite without damaging the paper.
Speaking of paper, choosing the right type can greatly influence your drawing experience. A paper with a slight texture, like cold press watercolor paper or medium-texture drawing paper, is often recommended as it holds graphite well and allows for subtle shading and texture work. However, smoother papers can be preferable for highly detailed work.
For those beginning in animal drawing, it’s advisable to invest in a small, high-quality set of tools rather than a large, diverse collection. This allows for a better understanding of each tool’s unique properties and how they contribute to the overall artwork. Also, regular practice with these tools will enable artists to develop their own preferences and techniques over time. Remember, the best tool is the one that feels right in your hands and helps you express your vision on paper.
Basic Drawing Techniques
- One of the most essential techniques is shading, which adds depth and dimension to your drawings. When drawing animals, observe how light falls on different parts of the body and use a range of pencil strokes to mimic this. For instance, short, tight strokes can replicate the dense fur of a rabbit, while longer, fluid strokes might better suit the sleek coat of a horse;
- Texturing is another vital technique, particularly for rendering the diverse surfaces found in animals. Practice creating different textures, like the roughness of a reptile’s skin or the fluffiness of a sheep’s wool, by altering pencil pressure and stroke direction. Layering is also crucial in animal drawing. Start with lighter layers and gradually build up to darker tones, allowing for a more nuanced and realistic portrayal;
- Another technique is understanding and applying perspective, especially for animals in motion or in different poses. For example, a bird in flight requires an understanding of wing anatomy and how its appearance changes with perspective.
Using these techniques, even simple animal shapes can be brought to life. A basic oval can transform into a lively, three-dimensional bird with the right shading and texturing, while a series of circles and lines can evolve into a detailed, realistic dog with careful layering and stroke variation. These fundamental techniques are the building blocks for any aspiring artist to develop their skills in animal drawing.
Step-by-Step Drawing Tutorials
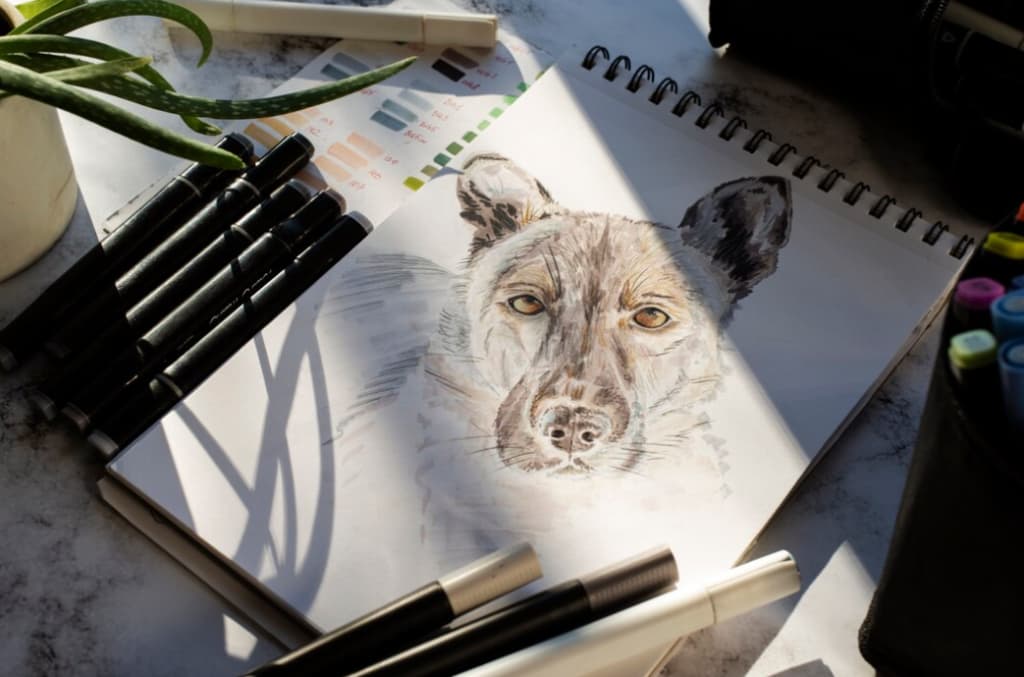
- To start, let’s consider drawing a common household pet like a cat. Begin with simple shapes to form the basic structure: an oval for the head, a larger one for the body, and lines for the legs and tail. This stage is crucial for getting the proportions right;
- Next, refine these shapes into more detailed outlines, capturing the cat’s distinct features like its ears, eyes, and nose. At this point, light sketching is key to make adjustments as needed. Once the outline is satisfactory, the next step involves adding details such as fur texture, whiskers, and the eyes’ intricate patterns. Use short, light strokes to mimic the fur’s texture, gradually building up the density and depth of the coat;
- When drawing animals like dogs or birds, a similar approach is applied, starting with basic shapes and progressively adding details. For a dog, focus on its unique features like the shape of the snout or the tail’s curve. For birds, pay attention to the wings’ structure and the feathers’ pattern.
Tips for Realistic Drawings
To enhance your animal drawings and make them more realistic, focusing on details, textures, and shadows is key. One crucial tip is to observe real animals closely or study photographs to understand their anatomy and fur patterns. This observation helps in adding realistic details like the way fur lays on the body or how muscles are defined in various poses.
- Texture is another important aspect. Each animal has a unique fur, scale, or feather texture, which can be replicated with different pencil strokes. For instance, short, quick strokes can create the illusion of short fur, while longer, flowing lines can mimic the smoothness of feathers. Layering these strokes and varying their density can add depth and realism;
- Shadows and highlights play a significant role in bringing drawings to life. Understanding light sources and how they create shadows on an animal’s body helps in adding volume and a sense of three-dimensionality to your drawings. Use softer pencils for darker areas and harder pencils for lighter regions to create a contrast that mimics natural lighting.
Professional animal artists often emphasize the importance of patience and attention to detail. As renowned wildlife artist John Muir Laws notes, “Start with the big shapes and work toward the small. Pay attention to the values (light and dark), not just the lines.” This approach helps in building a solid foundation for the drawing, upon which finer details can be added.
Additionally, practicing drawing different textures and understanding the anatomy of various animals can significantly enhance the realism of your drawings. Remember, the key to realistic drawings lies in the subtleties – the way light plays on fur, the texture of the skin, and the animal’s expression and posture all contribute to a lifelike portrayal.
Practice and Patience
The journey to mastering animal drawing, like any art form, requires regular practice and patience. Consistency in practice is crucial; it’s not about the duration of each session, but the regularity. Even short, daily sketches can lead to significant improvements over time. This regularity helps in developing muscle memory and hone observation skills, both essential for capturing the nuances of animal anatomy and movement.
Patience is equally important. Progress in art can sometimes feel slow, and it’s normal to encounter challenges along the way. Every artist starts as a beginner, and each mistake is a valuable learning opportunity. It’s essential to be patient with yourself and recognize that improvement comes with time and practice.
Inspirational stories of beginners who evolved into accomplished artists can be highly motivating. Many artists share their progress online, showcasing their journey from simple sketches to complex, realistic drawings. These stories often highlight the importance of perseverance and the transformative power of consistent practice.
Remember, every artist was once a beginner, and the key to improvement is to keep drawing, learning, and growing. Celebrate small victories and improvements in your work, and don’t hesitate to step out of your comfort zone to try new techniques or subjects. Your artistic journey is unique, and with regular practice and patience, you’ll see your skills flourish and evolve in ways you might not have imagined.
Conclusion
Drawing animals is a rewarding and enriching skill that blends observation, technique, and creativity. Whether you’re just starting out or looking to refine your skills, this guide offers valuable insights and tips to help you on your journey. From choosing the right tools to mastering textures and shadows, each step brings you closer to creating stunning, lifelike animal drawings. With practice and patience, you’ll see your skills grow and your artworks come to life. Keep drawing, exploring, and enjoying the process of artistic growth!